How do I pave my own garden?
Paving your own garden is a brilliant way to give it a makeover for much less than you would pay a professional.
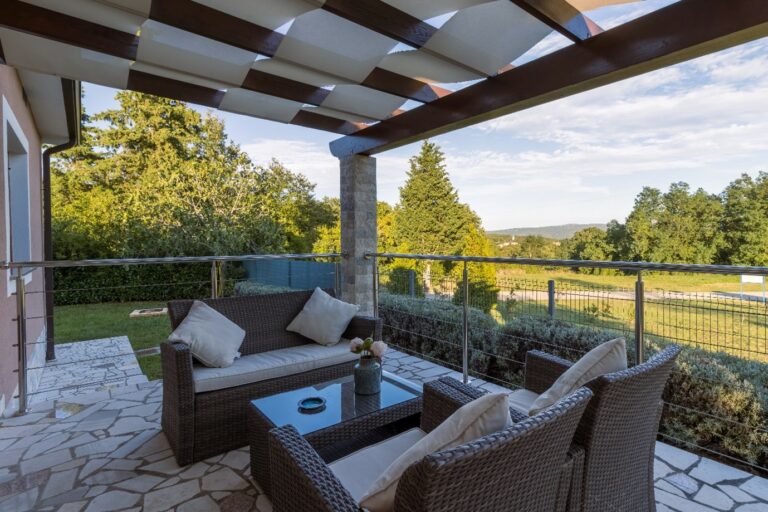
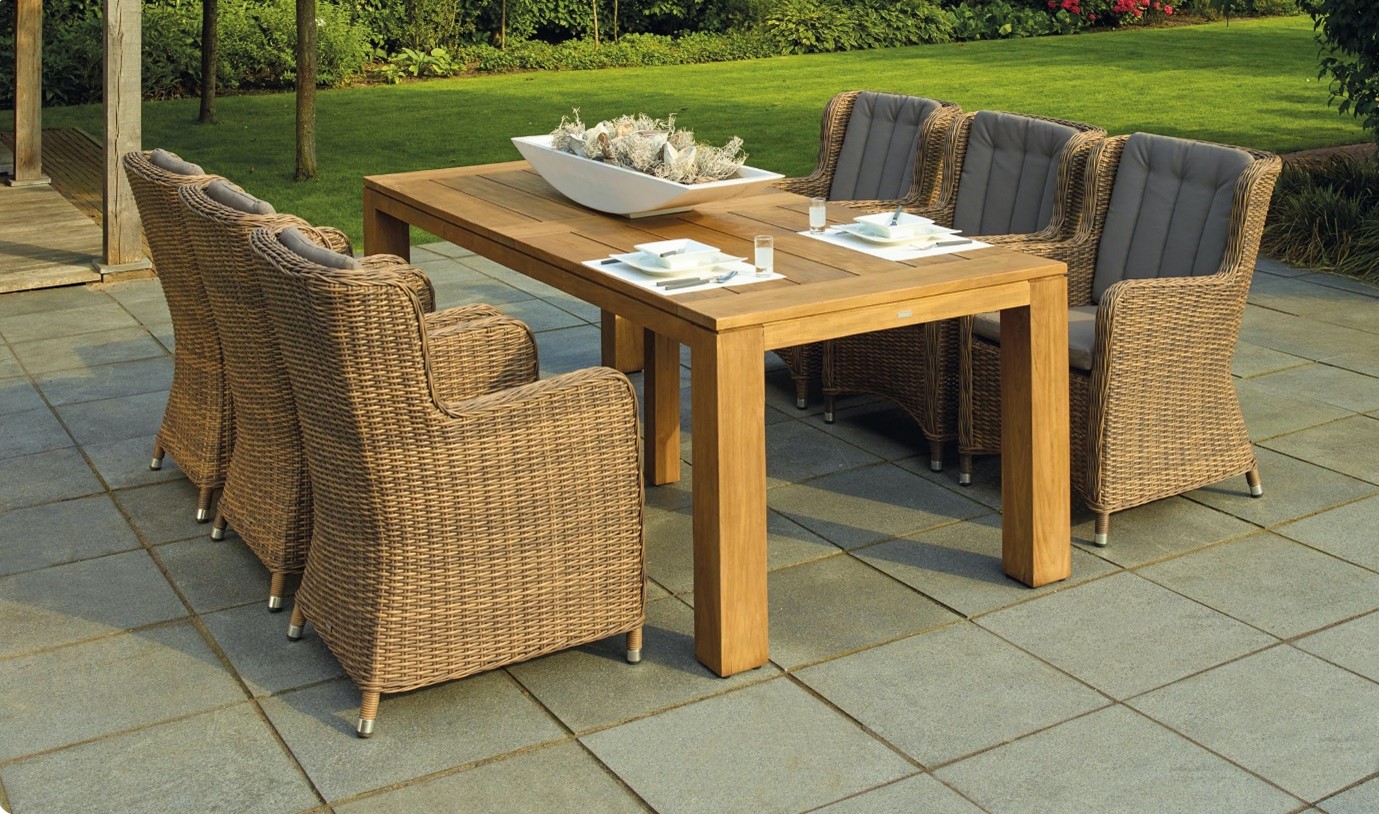
Paved areas are the low-maintenance, practical solution for adding seating and eating areas to your garden. They are easy to clean and if correctly laid, could last for around 50- 100 years! They’re also much easier to repair, as you can simply replace the individual broken slabs, rather than the whole area.
Before you get started, it is important you collect everything you will need in advance. Like when you prepared the ground for paving, it will make the process much faster.
You will have already completed most of the work necessary to lay a patio, including digging out the area, levelling the ground, and compacting and flattening the sub-base. This means you can now lay your patio in the design you have chosen.
Follow our step-by-step process for laying your paving stones and see how easy it can be!
1. Make the mortar
Your paving will be bedded into mortar made in the ratio of 4:1 for sand and cement. You can either mix it by hand in a mixing tray or in larger quantities in a cement mixer.
Mixing by hand
Measure your 4:1 ratio of building sand to cement.
Mix them thoroughly so they are evenly distributed, then create a well in the centre (like when you make pasta) and pour in the clean water.
Top Tip: It is better to add less water at this stage as you can always incorporate more!
Push the dry mortar mix into the water in the centre and then mix well.
Your mortar should not be too loose or too dry. If you can create a depression from your shovel into the mix that holds its shape, you have the correct consistency.
Mixing in a cement mixer
You are looking for the same consistency as when mixing by hand when using a cement mixer. You are also using the same ratios.
Add a quarter of a bucket of water, half the sand, and the cement to the mixer.
Mix well.
Add the rest of the sand and more water, as needed, until you achieve the correct consistency.
2. Lay the key stone
Correctly setting the first stone (i.e. the key stone) is crucial, because it can act as a guide for all the slabs that follow. This is especially true if you are laying your stones in a stack arrangement.
Starting in the top corner, lay about 60mm of mortar on top of the sub-base. This should be enough for one stone.
Dampen the back of the slab with a brush, this increases adhesion and makes it easer to manipulate the stones.
Lift the stone and lay it, dampened side down, onto the mortar.
Using a piece of timber and either a rubber mallet or club hammer, tap the stone into position. Use your spirit level here to check it is level and adjust as needed.
Fill any gaps under the stone with the mortar underneath, manipulate it with your trowel and clean up the edges, so the mortar pile and stone sit flush.
3. Lay the remaining stones
You can now continue to lay your slabs, making sure to stay level with the key stone.
For each subsequent stone:
- lay 60mm of mortar
- dampen the back of the stone
- lay the stone
- hammer gently into place, making sure the stone is level.
It’s a good idea to place spacers between the stones, two per edge, to ensure that you leave the same gap between each.
Carry on until all stones are laid.
You must ensure you leave the mortar to dry for 48 hours. Only then can you remove the spacing pegs.
Top Tip: If rain is forecast, cover the patio carefully with a tarpaulin to keep the rain off and joint the patio on a dry day.
4. Joint the patio
This is the final stage and will fill in the gaps between the stones to leave a firm surface.
The size of the joints determines how you complete the process but note all jointing mixtures can be coloured to complement the colour of the stones you have chosen!
Joints less than 5mm
Use a soft brush to press kiln-dried sand between the slabs.
Finish by sweeping the whole patio to ensure it is free of loose sand.
Joints 5-10mm
Mix kiln-dried sand and cement in a ratio of 1:1 until well combined.
Brush in the mortar mixture with a brush, taking care to remove the excess from the face of the stones to prevent staining.
Push the mortar mix gently and firmly inside the joints using a joining tool. Keep adding mortar mix and compressing until full.
Joints over 10mm
Mix a wet mortar mix as in step one.
Using a trowel, work the mortar into the joints, pushing down gently but firmly. Repeat this as necessary until the joints are full.
Brush away all excess mortar and wipe the edge of the stones with a damp sponge as you go to stop staining.
No matter the size of your joints, after 1-2 days the mortar will have set solid, and the patio can be used!
That’s it! That is all you need to know to lay your very own garden patio.
If you need help deciding on a stone, check out our selection of garden paving, where you can choose from specialities such as our collection of smooth finish paving or explore our choice of granite and textured paving.
For any further questions, contact our experts on 01744 304 545 or order direct from us at Stone and Porcelain for free nationwide shipping!