
How do you prepare ground for paving?
Uneven ground creates unsightly and dangerous paving.
As well as being a trip hazard, bumpy paving can create patchy erosion, meaning that your paving slabs will not age at the same rate. Inevitably, this will decrease the lifespan of your paving, meaning you will have to replace it sooner!
Levelling the ground that will support your paving is the easiest way to create a safe, long-lasting, and beautiful patio.
What will I need?
To successfully level your garden, you will need:
- Measuring tape
- String
- Stakes
- Shovel
- Gravel
- Sand
- Hose sprayer
- Landscape fabric
- Rake
- Hand tamper or an ordinary sledgehammer
- Carpenters level (also known as a spirit level)
Here are the 6 steps you need to follow to prepare your ground for paving!
- 1. Clear the area
Any furniture, plant pots, and discarded toys need to go!
You will also need to check for any pipes or cables in the area you wish to install your paving.
Attempting to install paved areas on top of pipes can result in leaks or bursts, or the risk of electrocution, so you should be very careful.
You can check with local utility companies before you start to dig to see if your area will be affected or use online services such as National One Call or Line Search to find out which utilities might be affected before you start!
- 2. Section it off
Once you know it is safe to do so, you can mark out the area to be paved.
Do this by marking the perimeter with stakes, which should be pushed into the ground at a depth of 5-8 inches. Then use your string to tie the stakes together.
This will clearly outline the area you need to dig and will keep other areas separated.
- 3. Dig it up
Now for the messy part!
Ideally, you should dig 6 inches into the ground and all the way around. This will ensure the paving sits neatly and any surface water can run off.
Your specific dig level can be advised by experts, as this depends on your area, subbase, and stone of choice. However, 6 inches should suffice for most domestic properties.
- 4. Level check
Now you should use your carpenters or spirit level to check if the ground is perfectly level and flat.
If areas are out by a small amount, fill these in with soil and relevel.
If the area is very uneven you will need to fill it in with type 1 hardcore to bring the base up. A landscaper may be helpful if this is the case, as their expertise may be necessary.
- 5. Compact and flatten
Compacting the ground ensures that your patio will not subside after heavy rainfall or after local construction works.
To do this, you should remove your stakes and string and pin down the area with landscaping fabric. However, you shouldn’t do this if you plan to install stepping stones or leave large gaps between your paving, as the fabric may show.
You then need to lay 2 inches of gravel followed by 2 inches of dampened sand. Smooth the sand and gravel layers with a rake to ensure they are level, using your spirit level to check. The gravel and sand will fill in any small gaps in the soil, making the base more solid.
You then need to use a tamper, either manual or mechanical, to compress and level the subbase.
- 6. Install
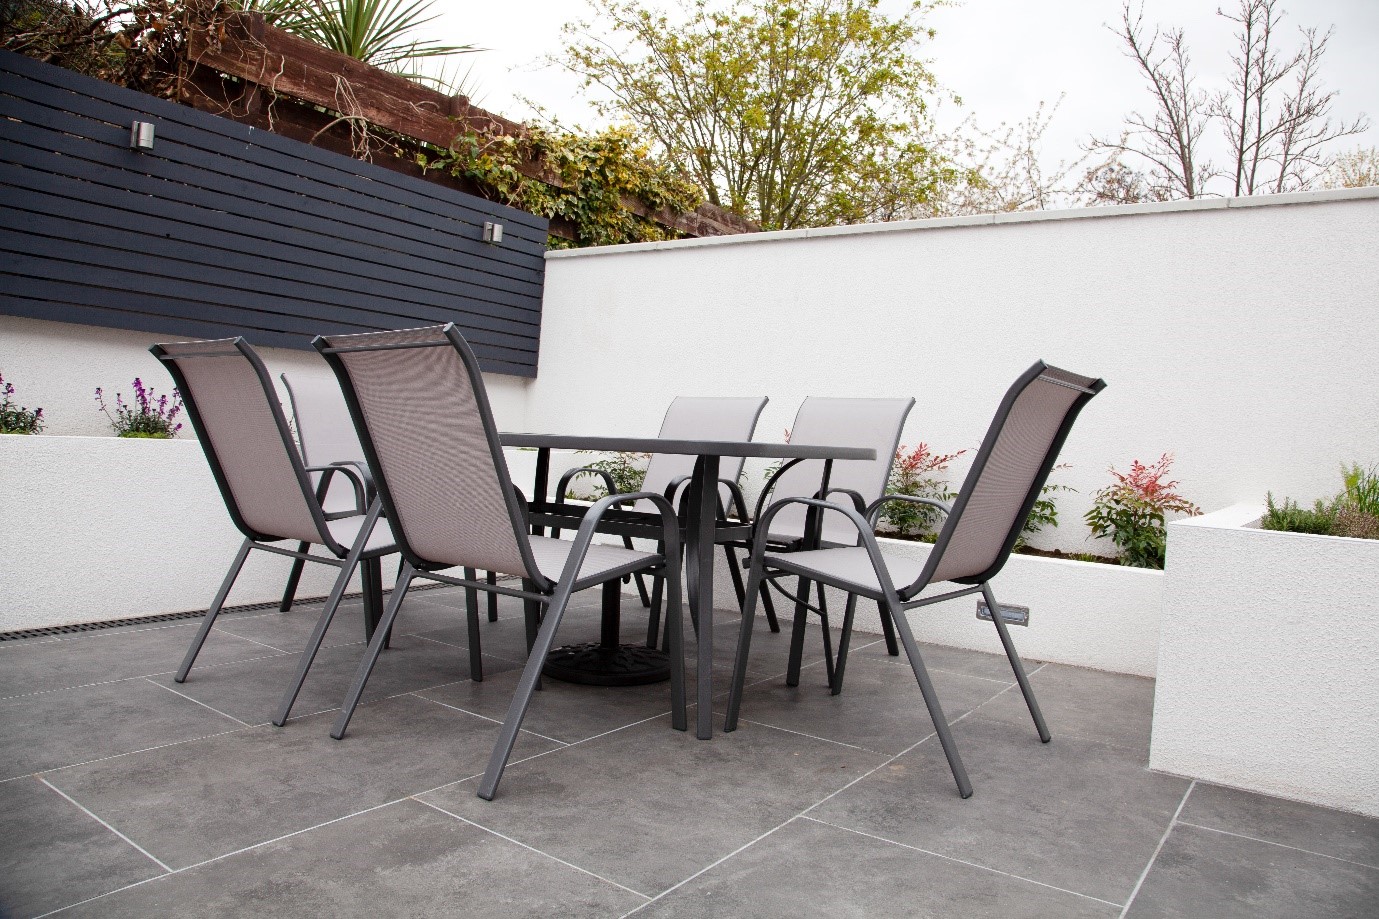
You are now free to lay your garden paving.
Preparing the ground for paving is generally more work than the paving process, so don’t be disheartened at this point. You are nearly there!
For a huge selection of paving stones, from traditional sandstone to timeless porcelain and everything in between, check out our garden paving selection and start your garden makeover today!
For more advice, fill in our contact form or give our friendly local experts a call on 01744 304 545.